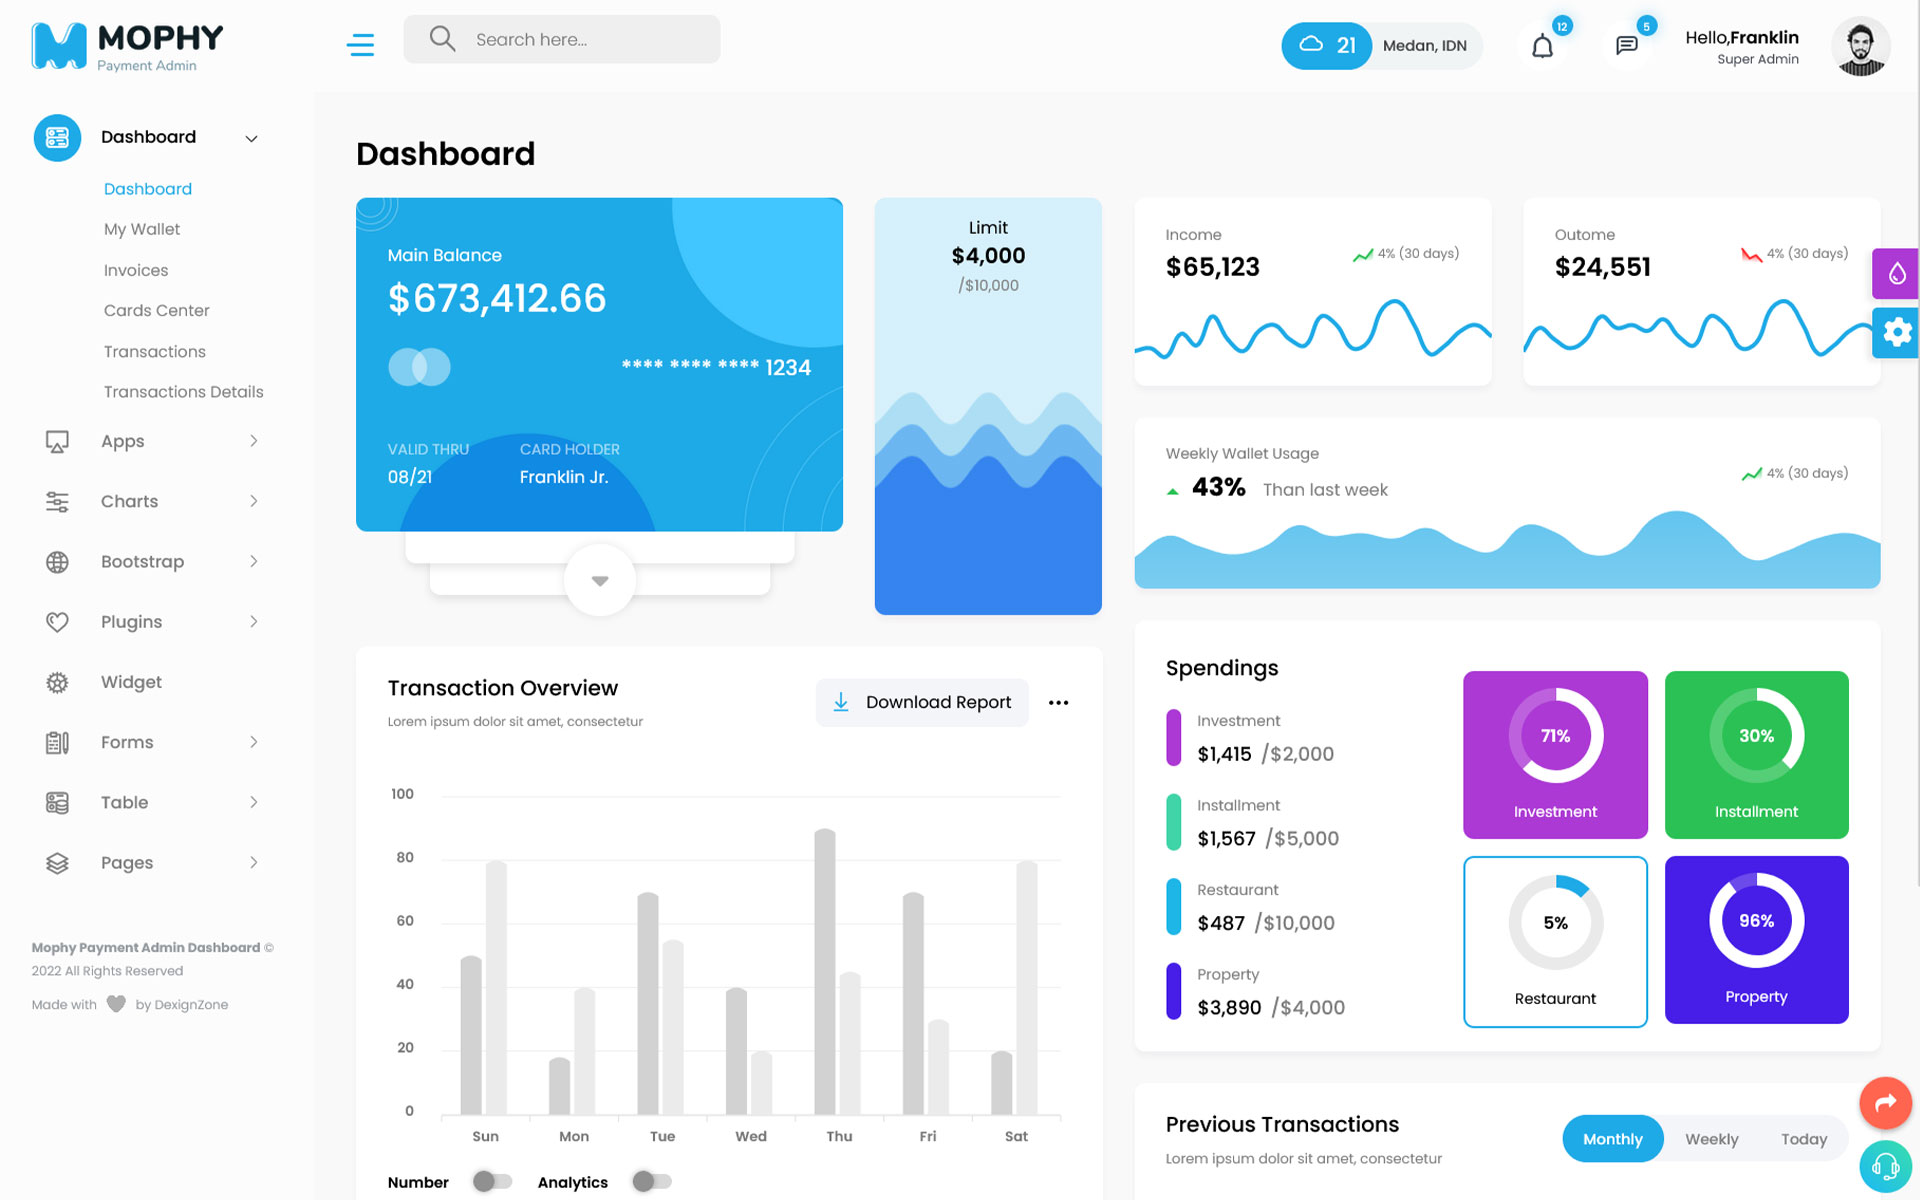
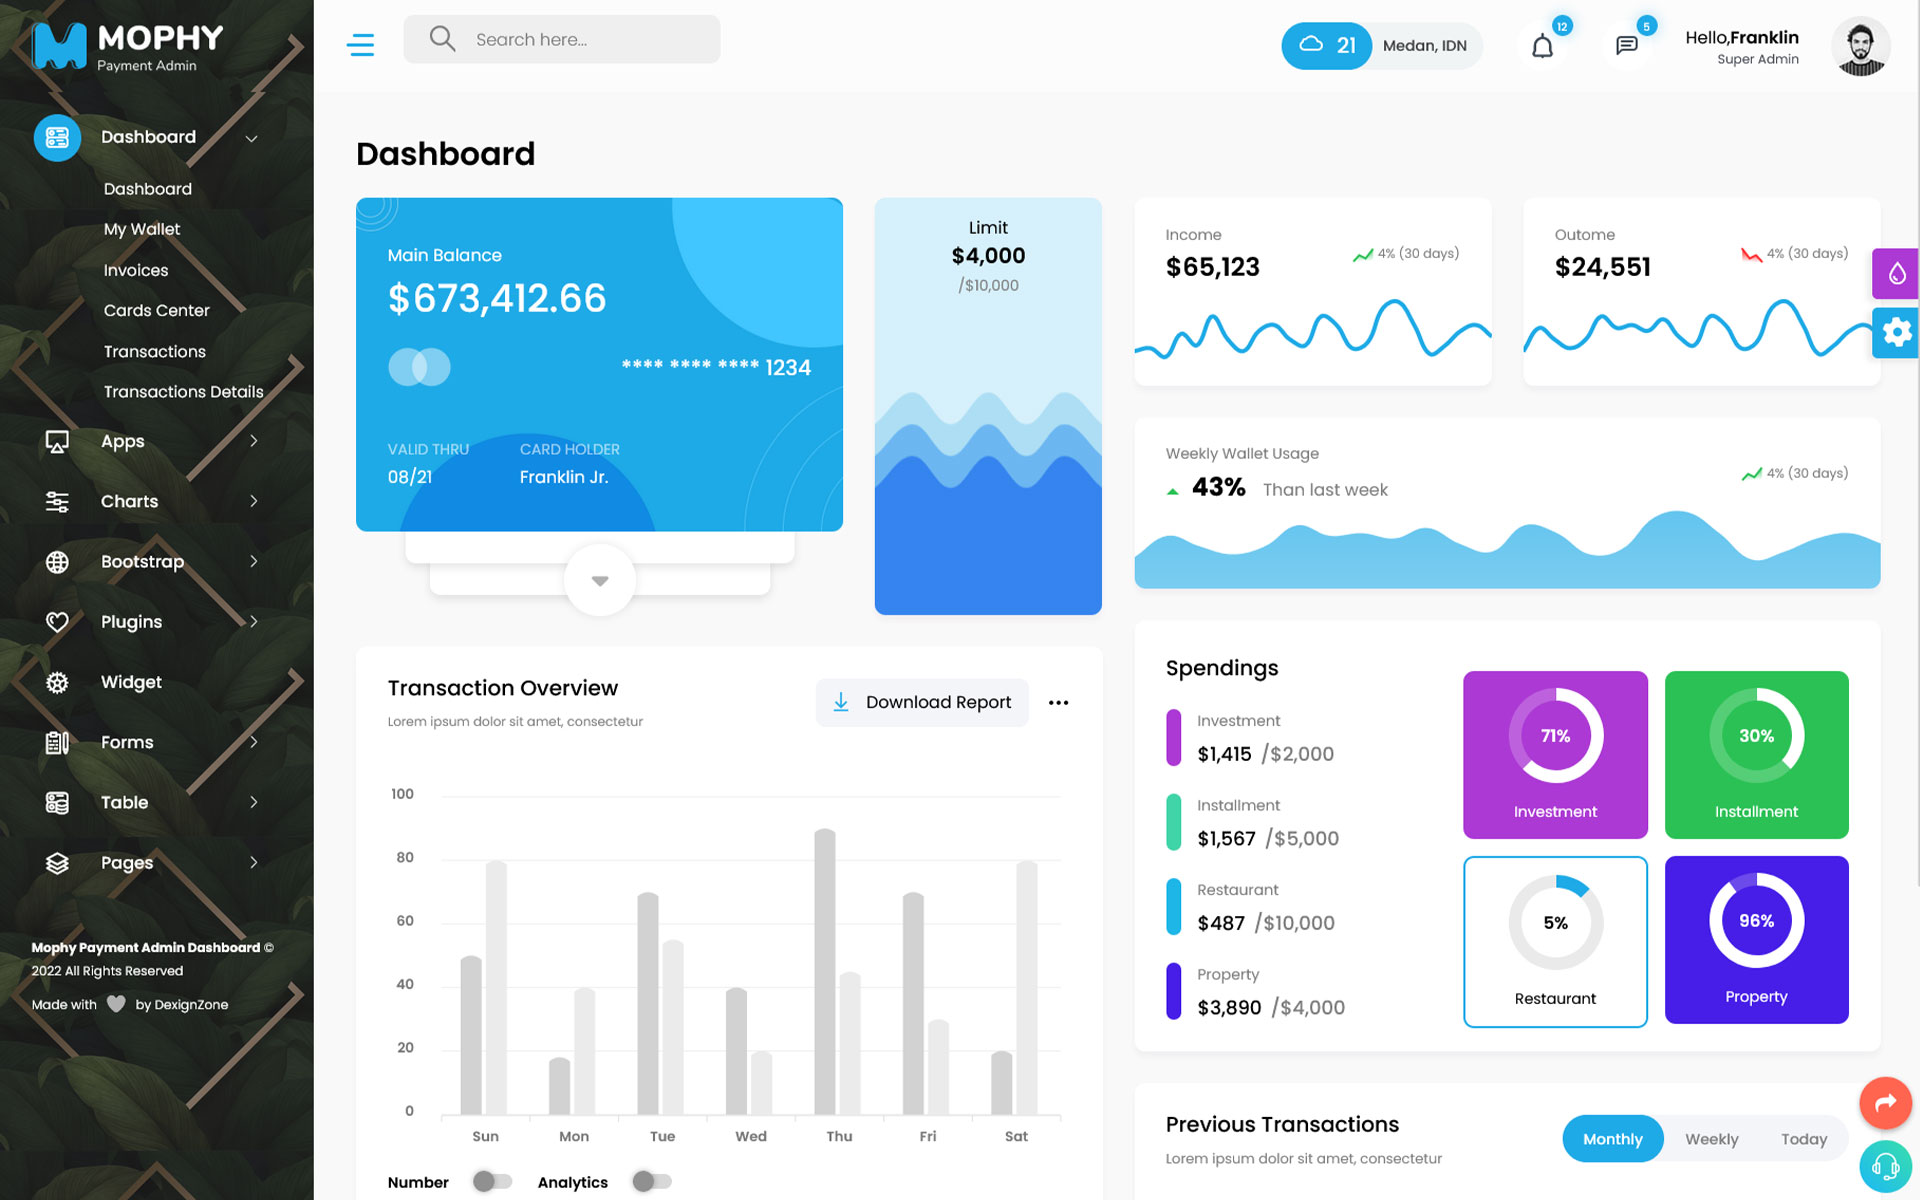
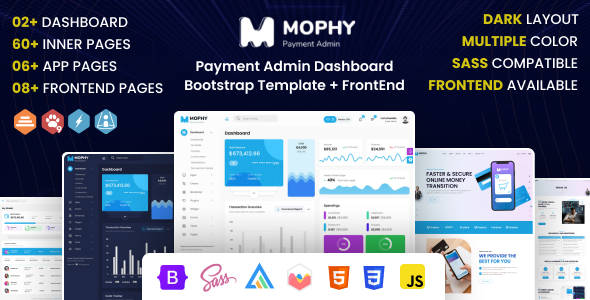
Mophy
Payment Admin Dashboard ASP.NET Core MVC Template + Frontend
This documentation is last updated on 27 August 2024
Thank you for purchasing this ASP.NET Core MVC template.
Quick Start -
1.- Requirements
Before proceeding, you need to have the minimal prerequisite
Recommended environment:
- .Net Framework 7.0 Support
- ASP.Net Core MVC Support
2.- Build
To build a project use below command. It'll generate compiled image of project, and you can run this project image.
dotnet build
dotnet run
3.- Publish
To publish a project use below command. It'll generate compiled image of project, you can upload this image of project on site.
dotnet publish
Sass Compile -
1.- Install Node.js
To compile Sass via the command line first, we need to install node.js. The easiest way is downloading it from the official website nodejs.org open the package and follow the wizard.
2.- Initialize NPM
NPM is the Node Package Manager for JavaScript. NPM makes it easy to install and uninstall third party packages. To initialize a Sass project with NPM, open your terminal and CD (change directory) to your project folder.
npm init

Once in the correct folder, run the command npm init. You will be prompted to answer several questions about the project, after which NPM will generate a package.json file in your folder.
3.- Install Node-Sass
Node-sass is an NPM package that compiles Sass to CSS (which it does very quickly too). To install node-sass run the following command in your terminal: npm install node-sass
npm install node-sass
4.- Write Node-sass Command
Everything is ready to write a small script in order to compile Sass. Open the package.json file in a code editor. You will see something like this: In the scripts section add an scss command
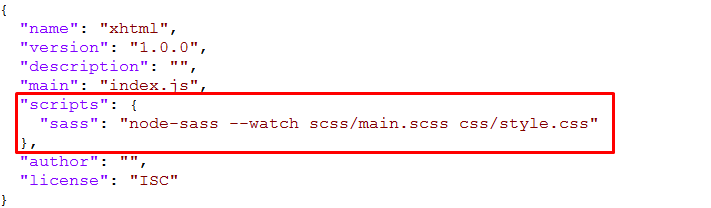
"scripts": {
  "sass": "node-sass --watch scss/main.scss css/style.css"
},
5.- Run the Script
To execute our one-line script, we need to run the following command in the terminal: npm run sass
npm run sass
6.- Other Option
--source-map
"sass": "node-sass --watch scss/main.scss css/style.css --source-map css/style.css.map"
Folder Directories -
-
images
This folder contains all the images of Mophy template.
-
fonts
This folder font files for various template features.
-
css
This folder contains all the CSS files of Mophy template.
-
js
This folder has all javascript files for various template features.
-
vendor
This folder has all plugins used in the template.
-
script
This folder has all script contact form used in the template.
-
scss
Scss File
File Structure - Frontend + Admin
- Mophy
- Controller
- AdminController.cs
- FrontendController.cs
- HomeController.cs
- Models
- ErrorViewModel.cs
- Views
- Admin
- Index.cshtml
- Index2.cshtml
- AddBlog.cshtml
- AddEmail.cshtml
- AppCalender.cshtml
- Blog.cshtml
- BlogCategory.cshtml
- ChartChartist.cshtml
- ChartChartjs.cshtml
- ...
- Frontend
- AboutUs.cshtml
- BlogDetails.cshtml
- BlogGrid.cshtml
- BlogList.cshtml
- ContactUs.cshtml
- FAQ.cshtml
- Index.cshtml
- Pricing.cshtml
- Home
- Index.cshtml
- Privacy.cshtml
- Shared
- Mophy
- Admin
- _Chatbox.cshtml
- _CloseFriendModal.cshtml
- _CreateGroupModal.cshtml
- _ExampleModal.cshtml
- _Footer.cshtml
- _Header.cshtml
- _Meta.cshtml
- _NevHeader.cshtml
- _PreLoader.cshtml
- _Sidebar.cshtml
- Frontend
- _AuthModal.cshtml
- _Footer.cshtml
- _Header.cshtml
- _Meta.cshtml
- _PreLoader.cshtml
- _Sidebar.cshtml
- Admin
- _Layout.cshtml
- _Layout.cshtml.css
- _LayoutMophyAdmin.cshtml
- _LayoutMophyAdmin.cshtml.css
- _LayoutMophyAdminAuth.cshtml
- _LayoutMophyAdminAuth.cshtml.css
- _LayoutMophyAdminAuthV100.cshtml
- _LayoutMophyAdminAuthV100.cshtml.css
- _LayoutMophyFrontend.cshtml
- _LayoutMophyFrontend.cshtml.css
- _ValidationScriptsPartial.cshtml
- Error.cshtml
- Mophy
- _ViewImports.cshtml
- _ViewStart.cshtml
- Admin
- wwwroot
- mophy
- admin
- css
- icons
- images
- js
- scss
- uploads
- vendor
- frontend
- css
- icons
- images
- js
- plugin
- scss
- vendor
- admin
- favicon.ico
- mophy
- Controller
RTL integration -
Step 1
Change the direction of theme from here. The file path is given below:-
js/deznav-init.js
var dezSettingsOptions = {
  direction: 'rtl'
};
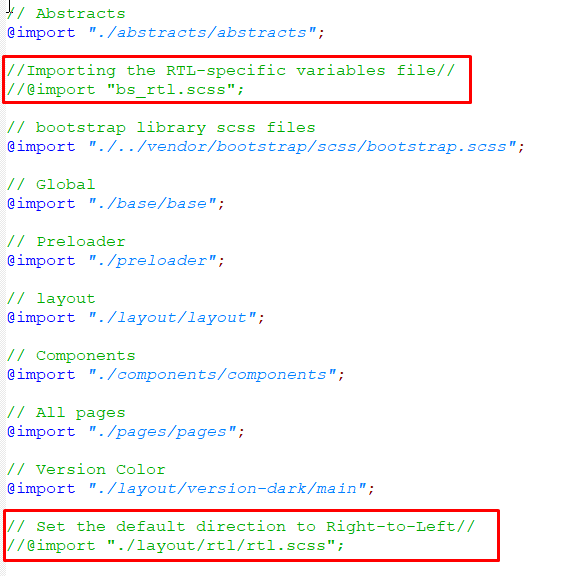
Step 2
scss/main.scss
Uncomment the given files for enable RTL direction
Step 3
To Compile RTL CSS, Change The File Path And Then Compile CSS in package.json file
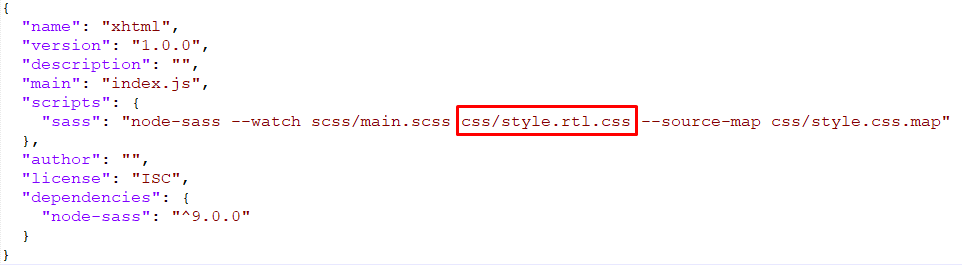
"scripts": {
  "sass": "node-sass --watch scss/main.scss css/style-rtl.css --source-map css/style.css.map"
},
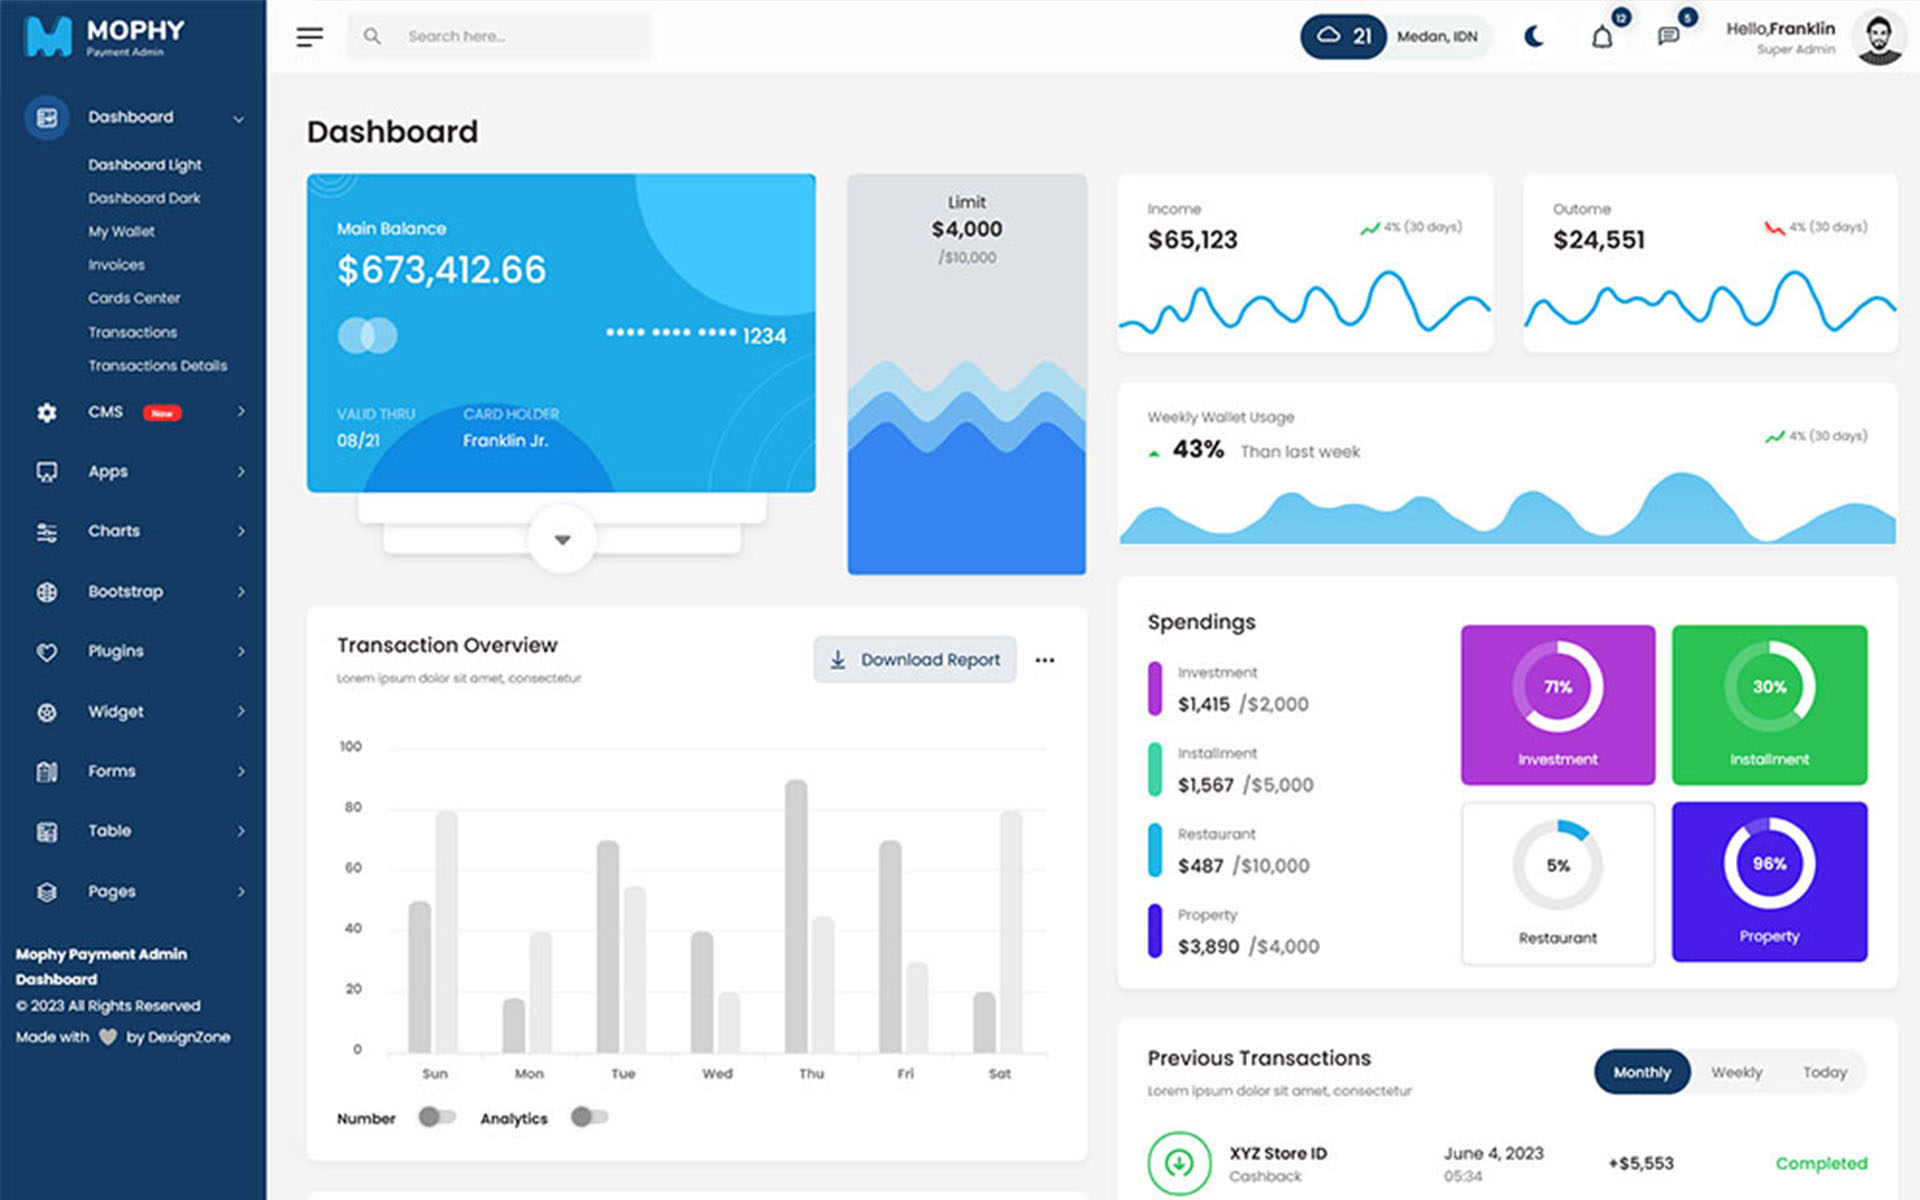
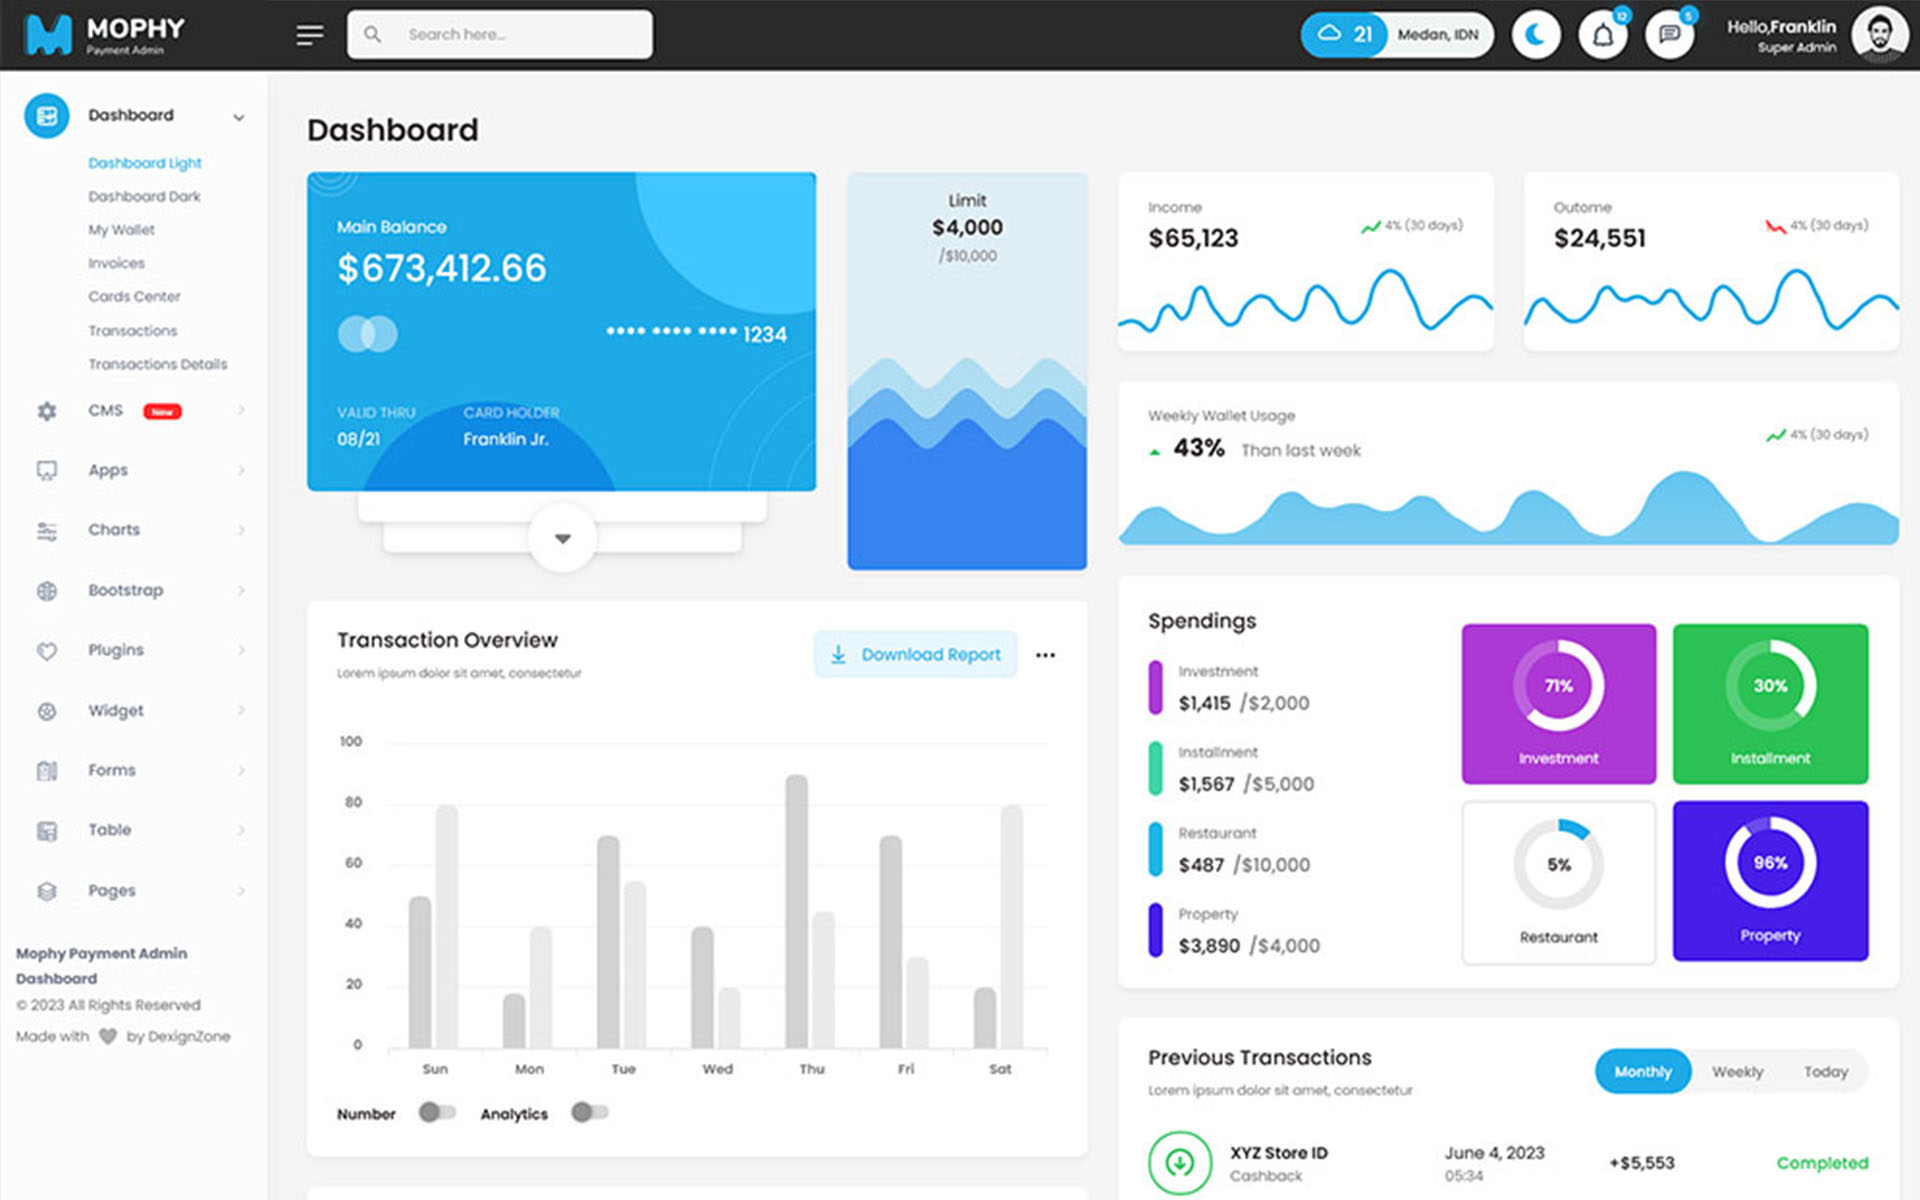
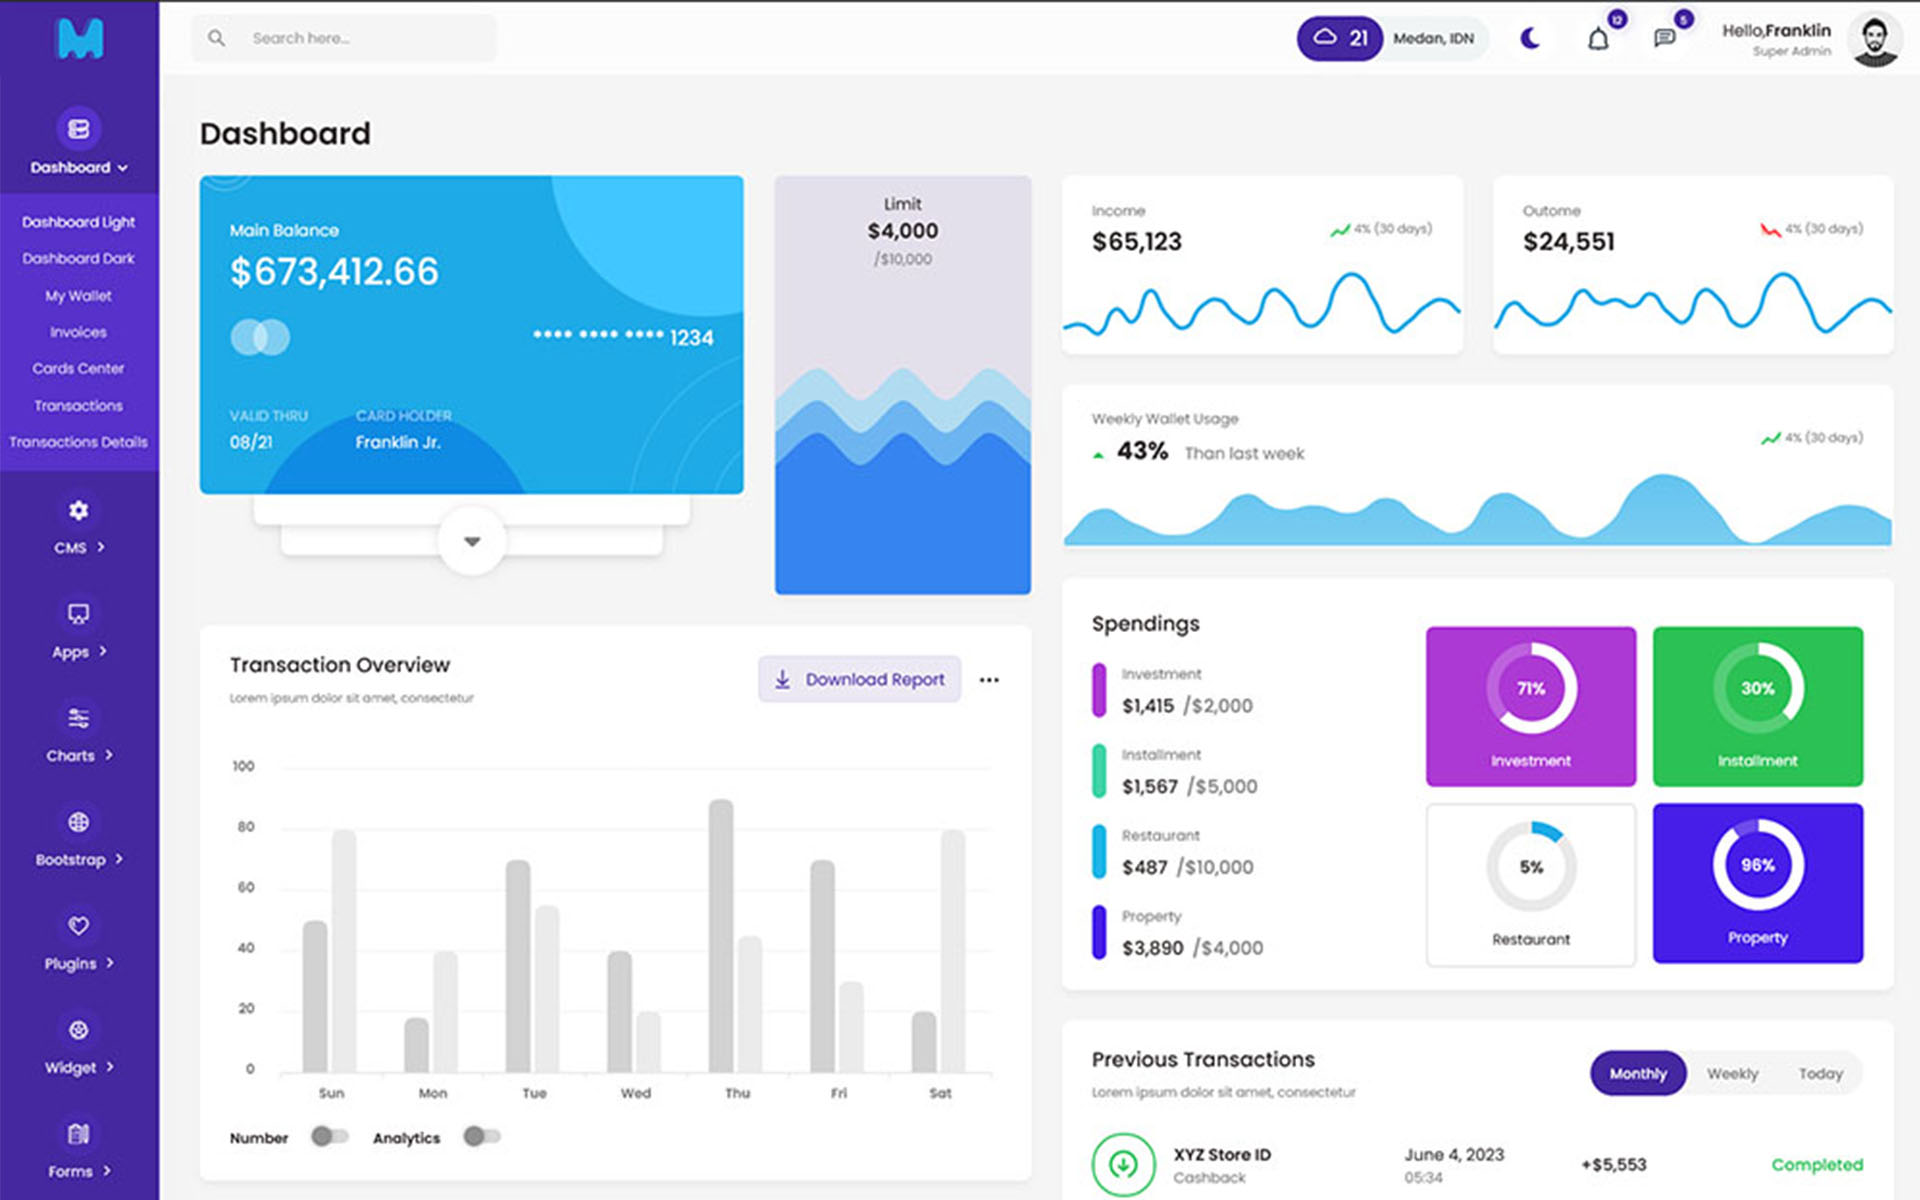
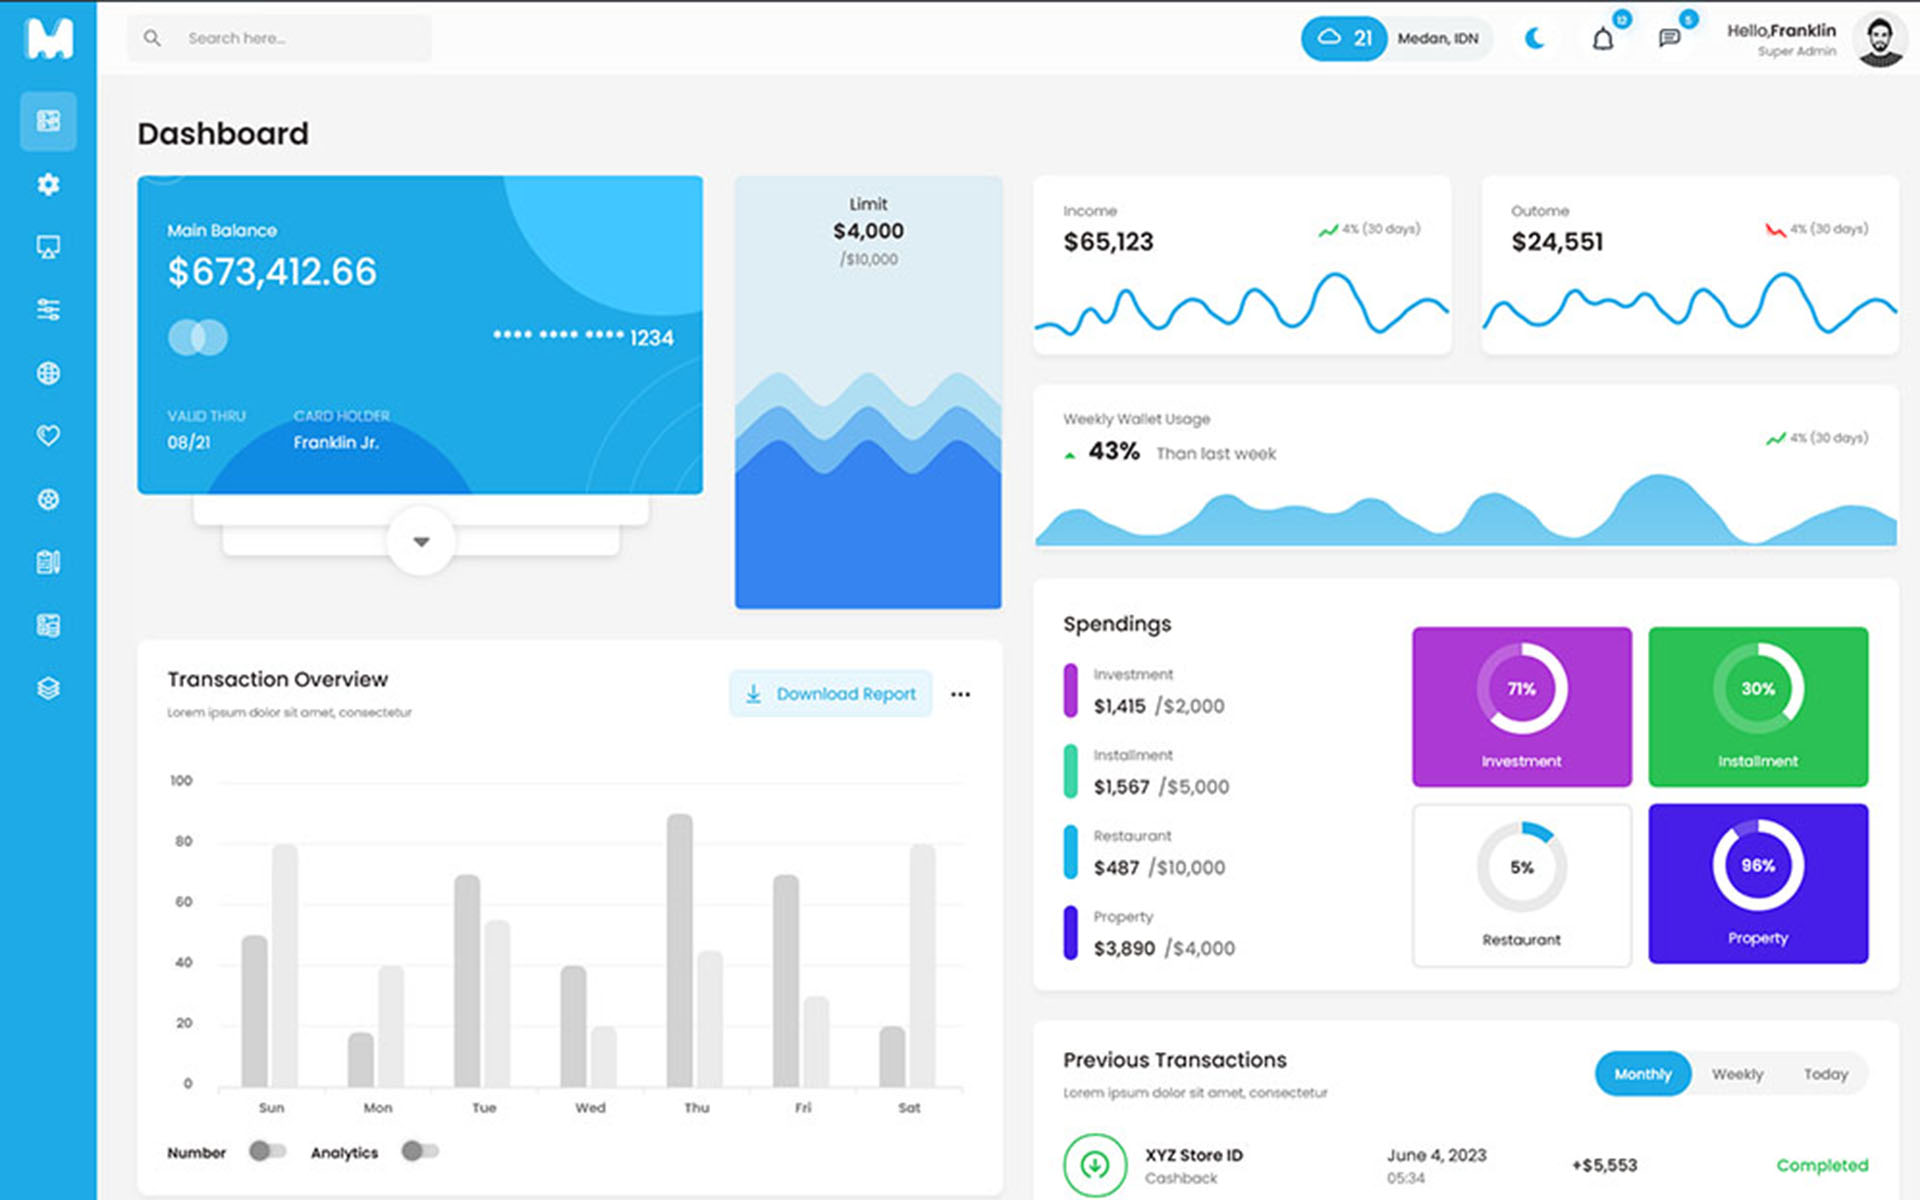
Admin Theme Features -
js/deznav-init.js
var dezSettingsOptions = {
	typography: "poppins",
	version: "light",
	layout: "vertical",
	primary: "color_1",
	headerBg: "color_1",
	navheaderBg: "color_1",
	sidebarBg: "color_1",
	sidebarStyle: "full",
	sidebarPosition: "fixed",
	headerPosition: "fixed",
	containerLayout: "full"
};
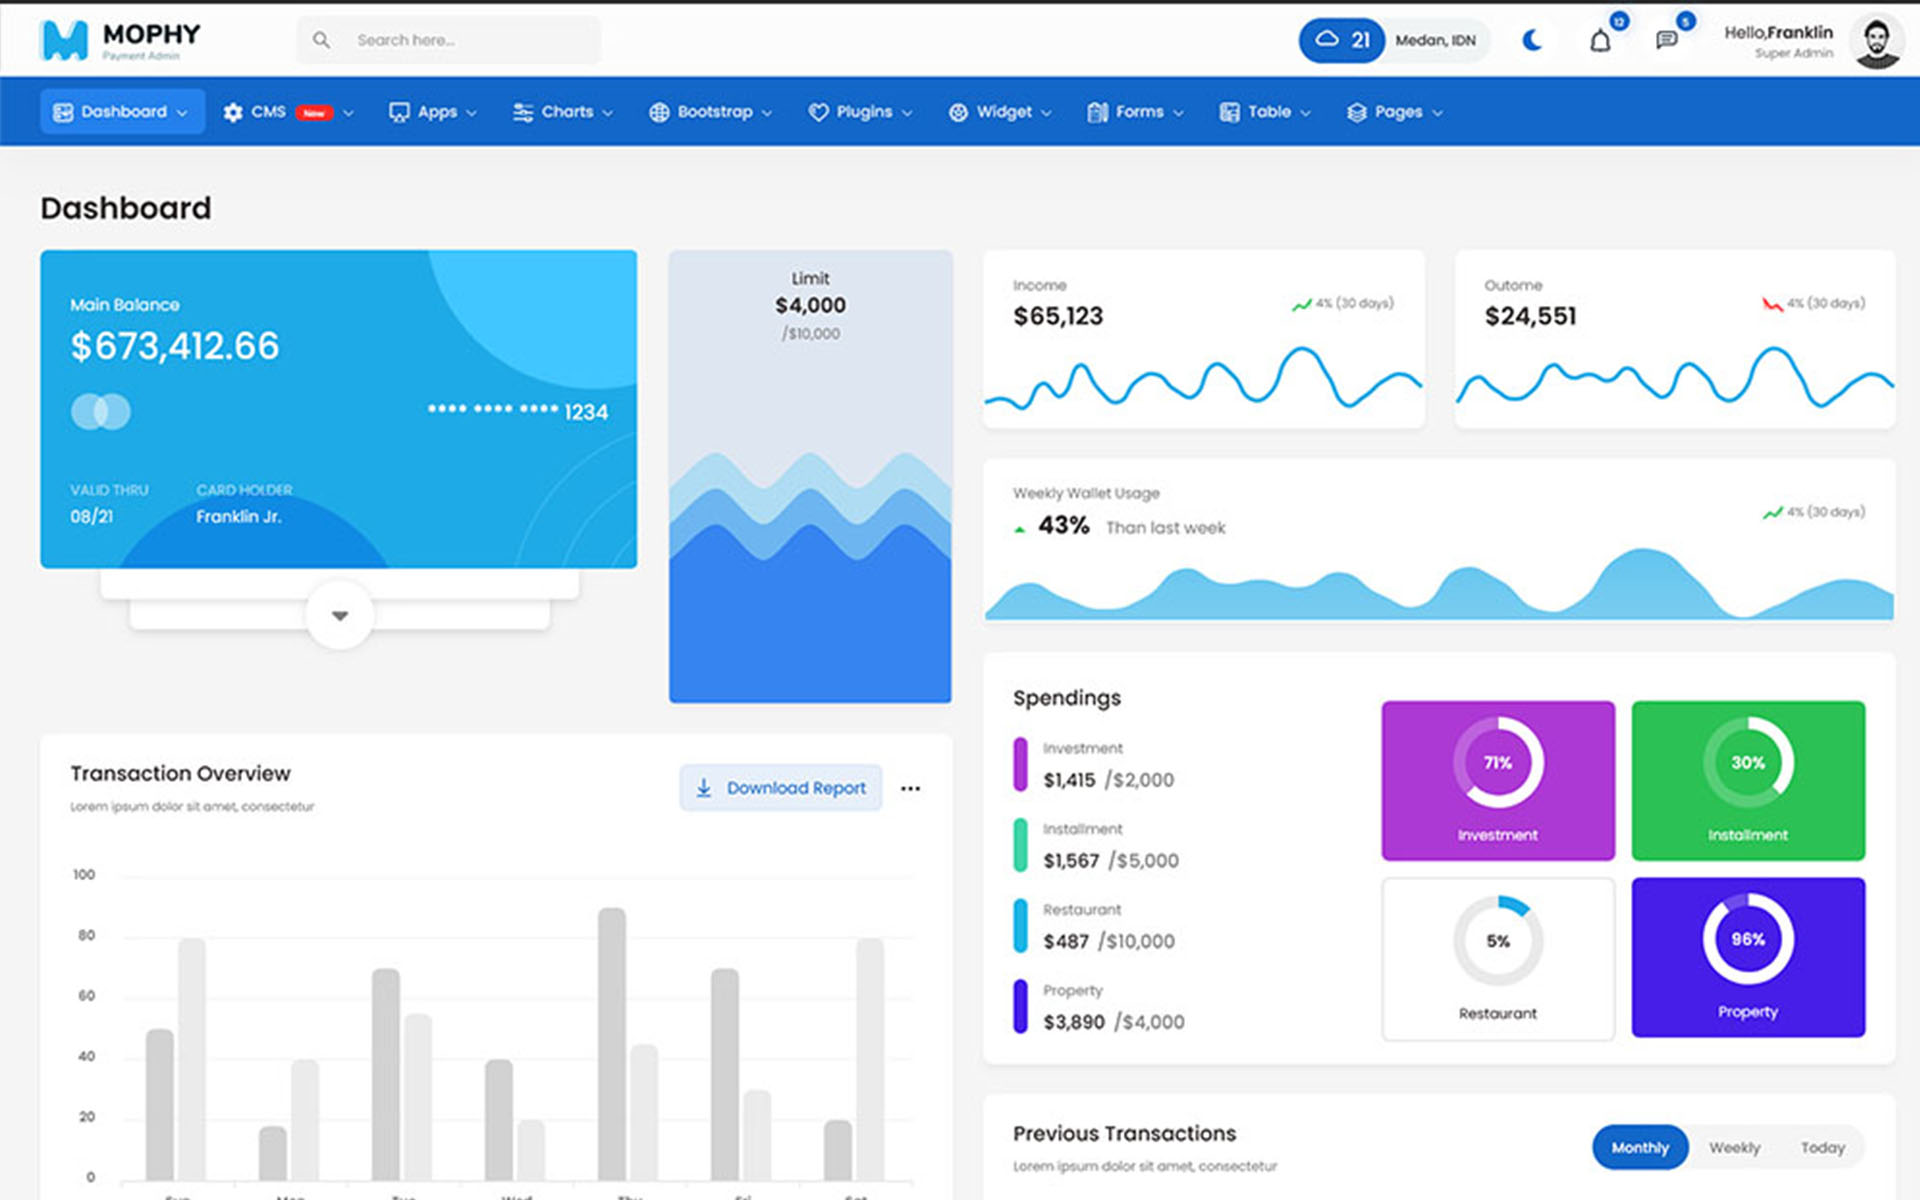
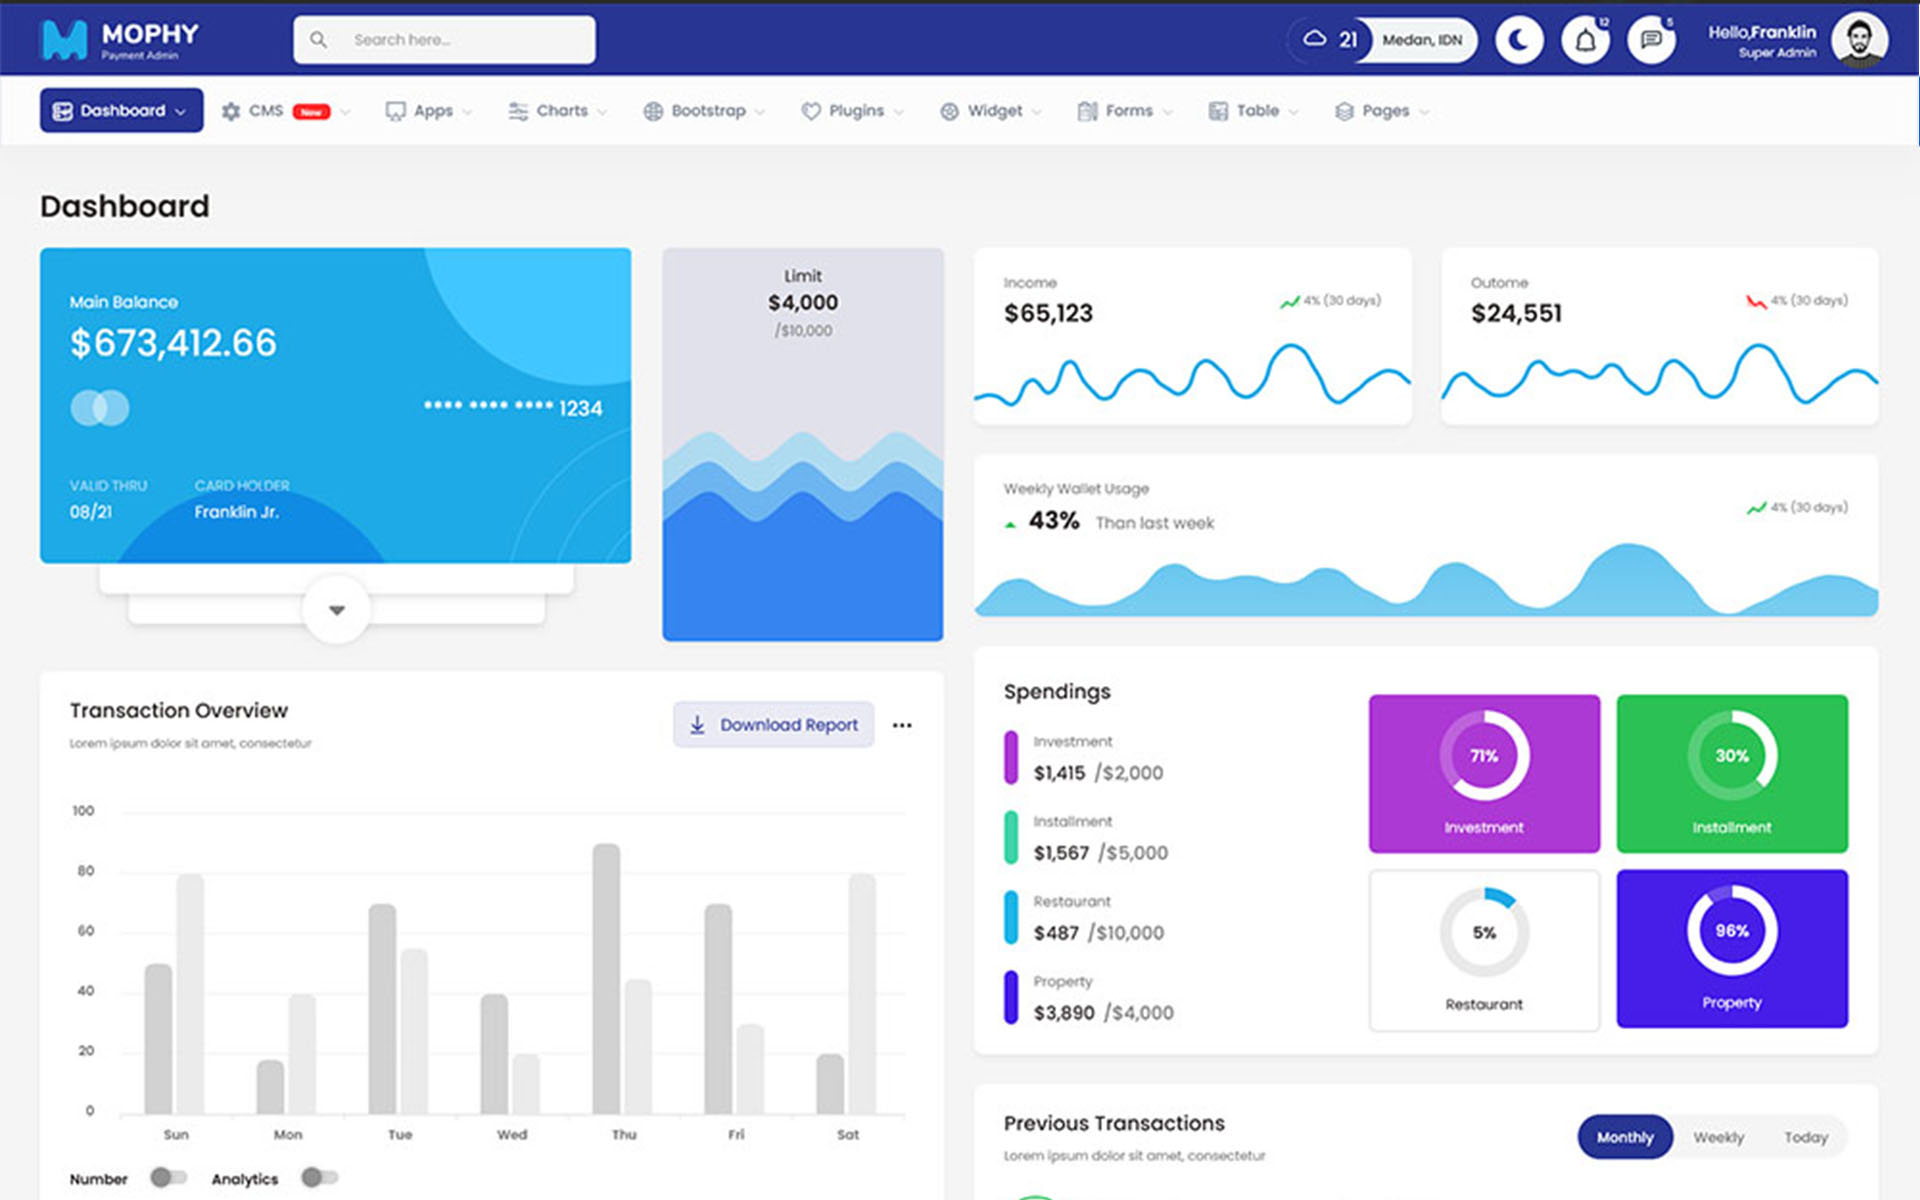
Color Theme -
So many color option available
var dezSettingsOptions = {
	typography: "poppins",  		More Options => ["poppins" , "roboto" , "Open Sans" , "Helventivca" ]
	version: "light",       		More Options => ["light" , "dark"]
	layout: "horizontal",   		More Options => ["horizontal" , "vertical"]
	primary: "color_11",			More Options => ["color_1," , "color_2," ..... "color_15"]
	headerBg: "color_1",			More Options => ["color_1," , "color_2," ..... "color_15"]
	navheaderBg: "color_1",			More Options => ["color_1," , "color_2," ..... "color_15"]
	sidebarBg: "color_11",			More Options => ["color_1," , "color_2," ..... "color_15"]
	sidebarStyle: "compact",		More Options => ["full" , "mini" , "compact" , "modern" , "overlay" , "icon-hover"]
	sidebarPosition: "static",		More Options => ["static" , "fixed"]
	headerPosition: "fixed",		More Options => ["static" , "fixed"]
	containerLayout: "full",		More Options => ["full" , "wide" , "wide-box"]
	direction: direction			More Options => ["ltr" , "rtl"]

};
var dezThemeSet1 = {
	typography: "poppins",
	version: "light",
	layout: "vertical",
	primary: "color_2",
	headerBg: "color_1",
	navheaderBg: "color_2",
	sidebarBg: "color_2",
	sidebarStyle: "full",
	sidebarPosition: "fixed",
	headerPosition: "fixed",
	containerLayout: "full",
	direction: 'ltr',
};
var dezThemeSet2 = {
	typography: "poppins",
	version: "light",
	layout: "vertical",
	primary: "color_1",
	headerBg: "color_13",
	navheaderBg: "color_13",
	sidebarBg: "color_1",
	sidebarStyle: "full",
	sidebarPosition: "fixed",
	headerPosition: "fixed",
	containerLayout: "full",
	direction: 'ltr',
};
var dezThemeSet3 = {
	typography: "poppins",
	version: "light",
	layout: "horizontal",
	primary: "color_14",
	headerBg: "color_1",
	navheaderBg: "color_1",
	sidebarBg: "color_14",
	sidebarStyle: "full",
	sidebarPosition: "fixed",
	headerPosition: "fixed",
	containerLayout: "full",
	direction: 'ltr',
};
var dezThemeSet4 = {
	typography: "poppins",
	version: "light",
	layout: "horizontal",
	primary: "color_6",
	headerBg: "color_6",
	navheaderBg: "color_6",
	sidebarBg: "color_1",
	sidebarStyle: "full",
	sidebarPosition: "fixed",
	headerPosition: "fixed",
	containerLayout: "full",
	direction: 'ltr',
};
var dezThemeSet5 = {
	typography: "poppins",
	version: "light",
	layout: "vertical",
	primary: "color_4",
	headerBg: "color_1",
	navheaderBg: "color_4",
	sidebarBg: "color_4",
	sidebarStyle: "compact",
	sidebarPosition: "fixed",
	headerPosition: "fixed",
	containerLayout: "full",
	direction: 'ltr',
};
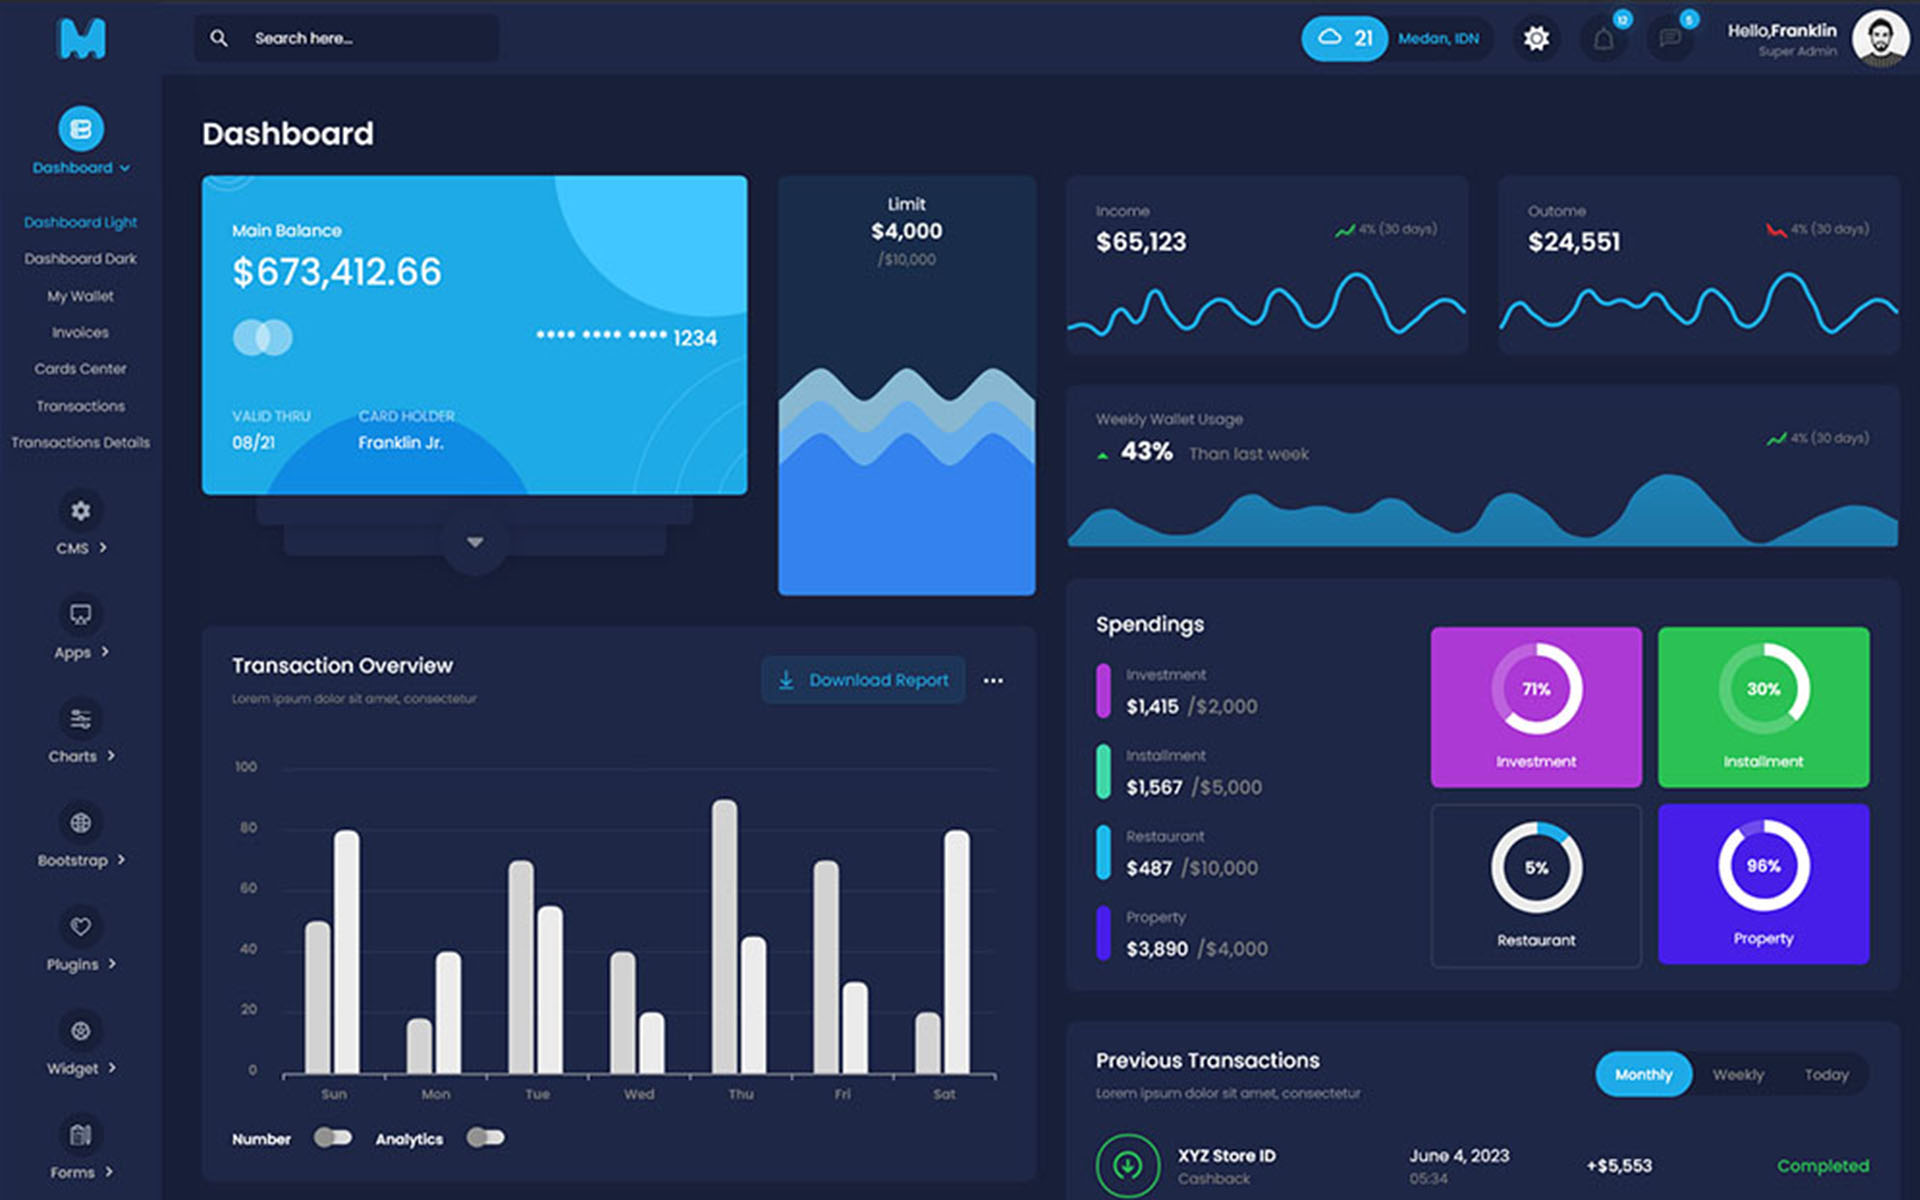
var dezThemeSet6 = {
	typography: "poppins",
	version: "dark",
	layout: "vertical",
	primary: "color_1",
	headerBg: "color_1",
	navheaderBg: "color_1",
	sidebarBg: "color_1",
	sidebarStyle: "compact",
	sidebarPosition: "fixed",
	headerPosition: "fixed",
	containerLayout: "full",
	direction: 'ltr',
};
var dezThemeSet7 = {
	typography: "poppins",
	version: "dark",
	layout: "vertical",
	primary: "color_3",
	headerBg: "color_14",
	navheaderBg: "color_3",
	sidebarBg: "color_3",
	sidebarStyle: "full",
	sidebarPosition: "fixed",
	headerPosition: "fixed",
	containerLayout: "full",
	direction: 'ltr',
};
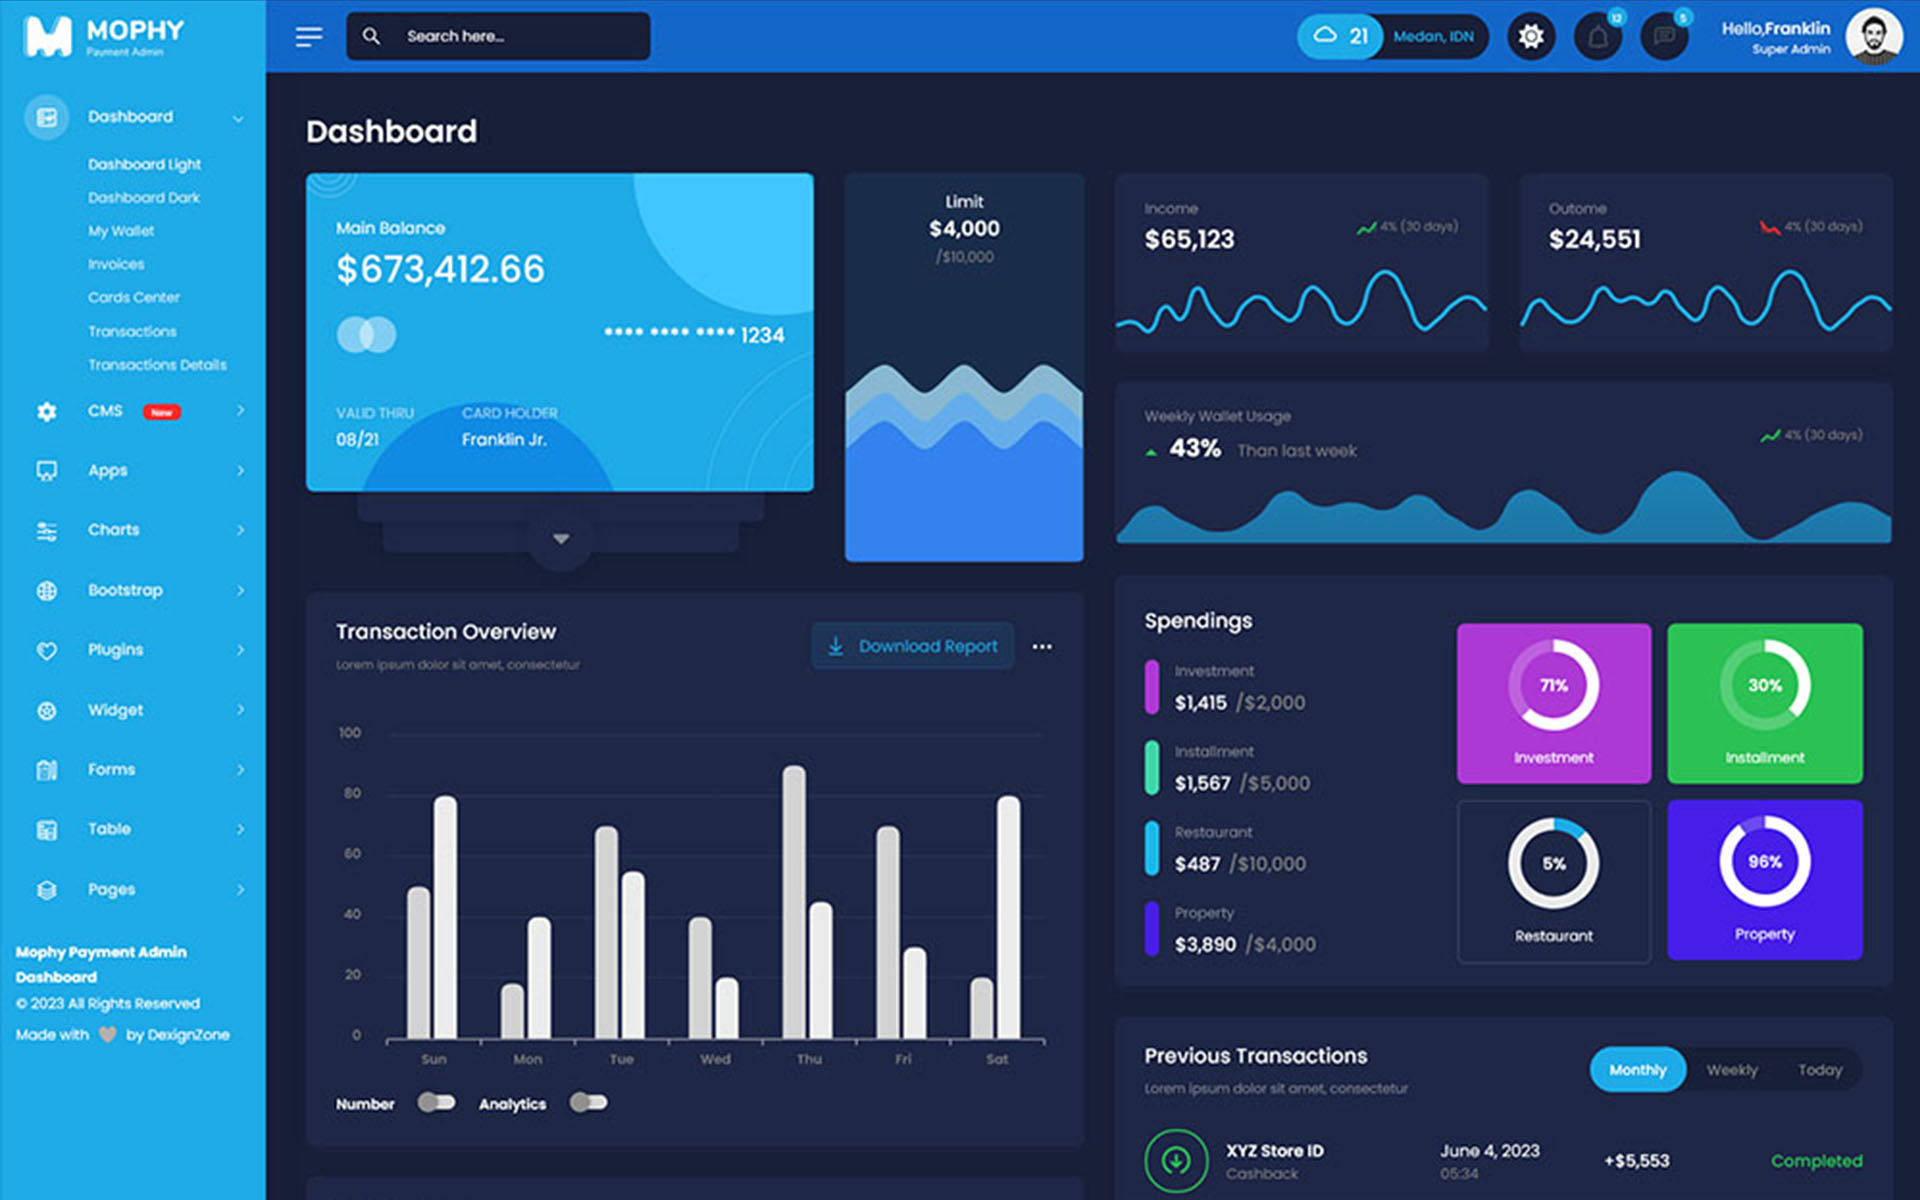
var dezThemeSet8 = {
	typography: "poppins",
	version: "light",
	layout: "vertical",
	primary: "color_1",
	headerBg: "color_1",
	navheaderBg: "color_3",
	sidebarBg: "color_3",
	sidebarStyle: "mini",
	sidebarPosition: "fixed",
	headerPosition: "fixed",
	containerLayout: "full",
	direction: 'ltr',
};
Navigation Bar
dezSettingsOptions = {
    typography: "poppins",
    version: "light",
    layout: "vertical",
    primary: "color_1",
    headerBg: "color_1",
    navheaderBg: "color_1",
    sidebarBg: "color_1",
    sidebarStyle: "full",
    sidebarPosition: "fixed",
    headerPosition: "fixed",
    containerLayout: "full",
    direction: direction,
    navTextColor:'color_1',
    navigationBarImg: 'images/sidebar-img/1.jpg'  /* image path or null*/
};
Frontend Theme Features -
Color Theme
Choosing a color theme for a website is an important part of creating a visually appealing and effective design. Here are so many color option available, you can choose a color theme for your website.
<link rel="stylesheet" class="skin" href="assets/css/skin/skin-1.css">
Layout
The layout of a website refers to the way in which content and design elements are arranged on each page of the site. A well-designed layout can help to make a website more visually appealing, easy to navigate, and engaging for users. Here two layouts are available
<body id="bg" class="boxed">
<body id="bg" class="frame">
Header
The header of a website is the top section of the site that appears on every page. It typically includes the website logo, navigation menu, and sometimes additional elements such as a search bar, social media icons, or a call to action. Here we used fixed and sticky header in our website-
Header Fixed is-fixed
<div class="main-bar-wraper navbar-expand-lg sticky-header is-fixed">
Header Static sticky-no
<div class="main-bar-wraper navbar-expand-lg sticky-no">
Background Color
The background color of a website is an important aspect of its overall design. It sets the tone for the site and can have a significant impact on user experience. You can use body background color like this but it will work only in boxed and frame layout
<body id="bg" class="frame" style="background-color: rgb(255, 175, 41);">
Background Image
Using a background image on a website can add visual interest and personality to the design. You can use body background image like this but it will work only in boxed and frame layout
<body id="bg" class="boxed" style="background-image: url("assets/images/switcher/large/background/bg1.jpg");">
<body id="bg" class="frame" style="background-image: url("assets/images/switcher/large/background/bg1.jpg");">
Credits -
-
Amcharts
-
Counter
-
Apexchart
-
Bootstrap
-
Bootstrap4 Notify
-
Bootstrap Daterangepicker
-
Bootstrap Material Datetimepicker
-
Bootstrap Multiselect
-
Bootstrap Select
-
Bootstrap Tagsinput
-
Bootstrap Touchspin
-
Chart.js
-
Chartist Plugin Tooltips
-
Clockpicker
-
Datatables
-
Dropzone
-
Flot Chart
-
Fullcalendar
-
Highlightjs
-
Jquery
-
Jquery AsColorPicker
-
Jquery AsGradient
-
Jquery Sparkline
-
Jquery Steps
-
Jqueryui
-
Jquery-validation
-
Metismenu
-
Moment
-
Nestable2
-
Nouislider
-
Perfect Scrollbar
-
Pickadate
-
Select
-
Summernote
-
Svganimation
-
Sweetalert
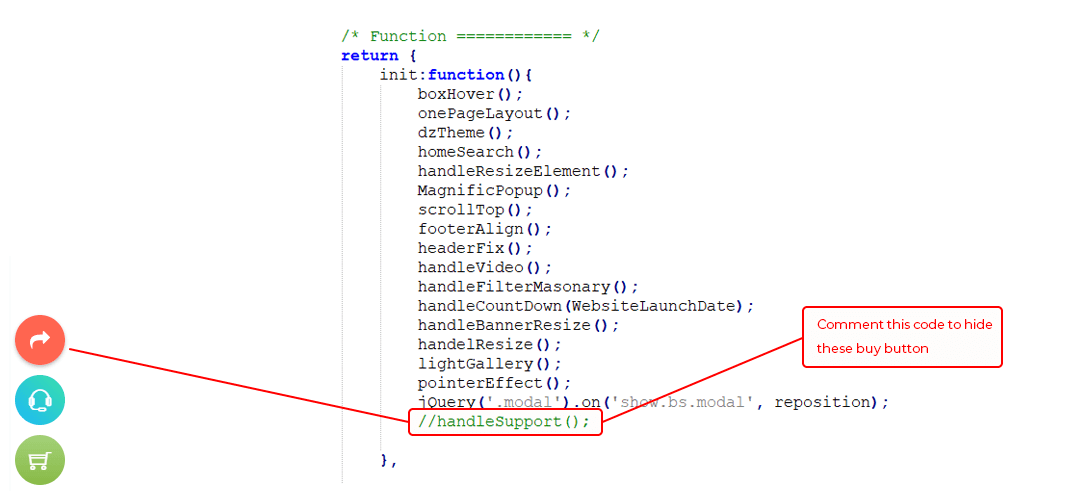
Share Button -
You can hide buy now and share buttons by comment the given code as shown below with red mark in the screenshot.
File Path assets/js/custom.js
reCAPTCHA -
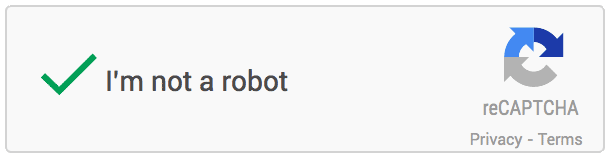
Register your website and get Secret Key.
Very first thing you need to do is register your website on Google recaptcha to do that click here.
Login to your Google account and submit the form.
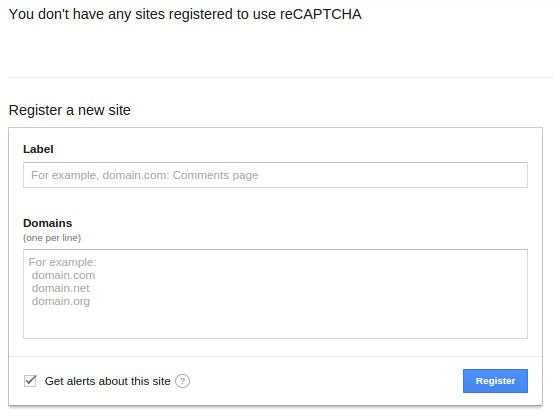
Once submit, Google will provide you following two information.
- Site key
- Secret key
Integrate Google reCAPTCHA in your website.
To integrate it into your website you need to put it in client side as well as in Server side. In client HTML page you need to integrate this line before HEADtag.

And to show the widget into your form you need to put this below contact form, comment form etc.

When the form get submit to Server, this script will send ‘g-recaptcha-response’ as a POST data. You need to verify it in order to see whether user has checked the Captcha or not.
Sample project
Here is the HTML code for the simple form with comment box and submit button. On submit of this form we will use PHP in back-end to do the Google reCAPTCHA validation.
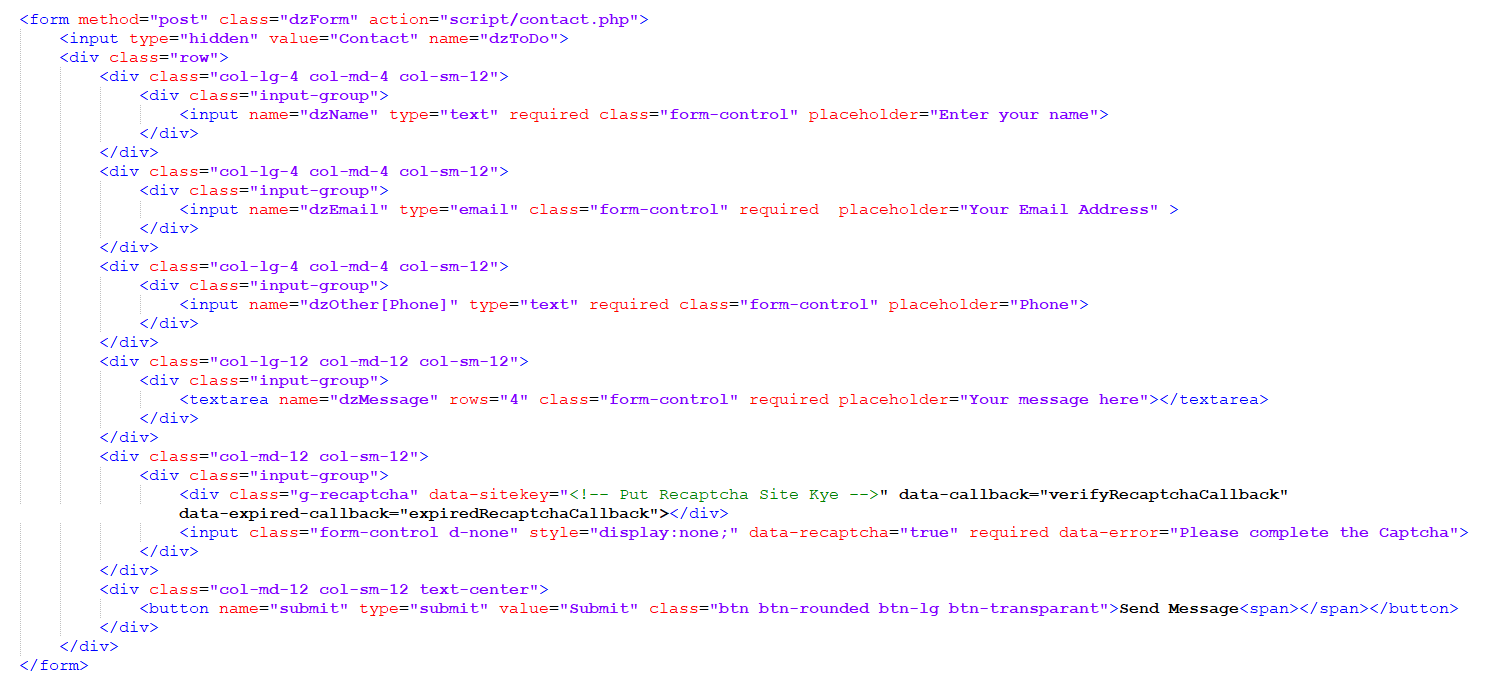
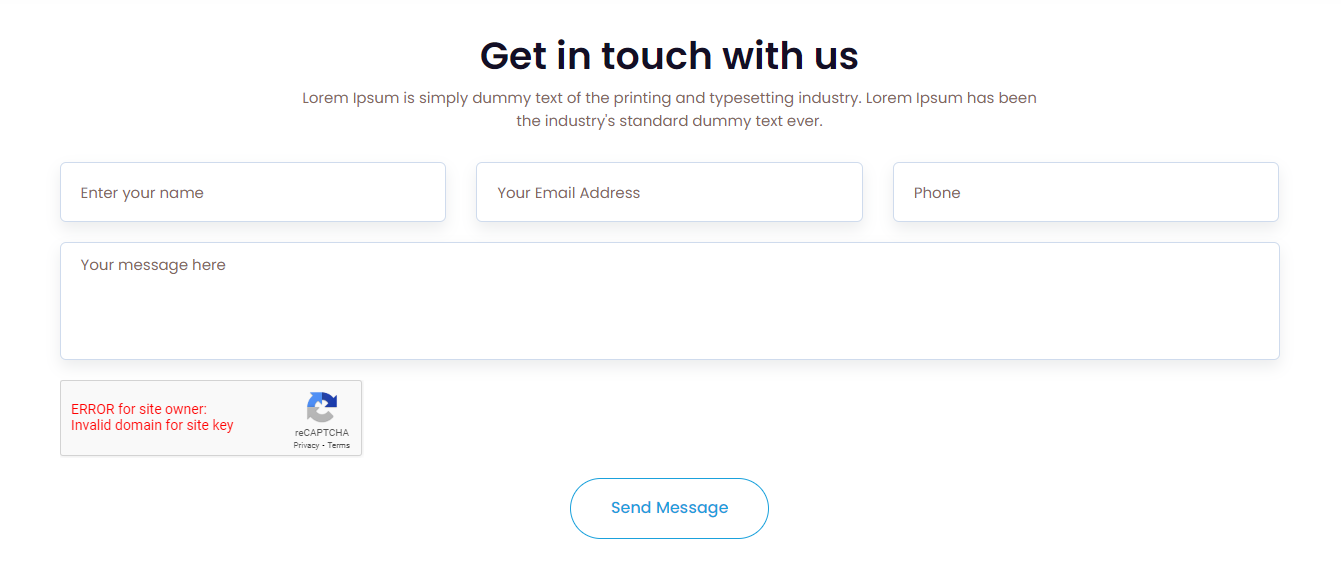
This will generate this form.
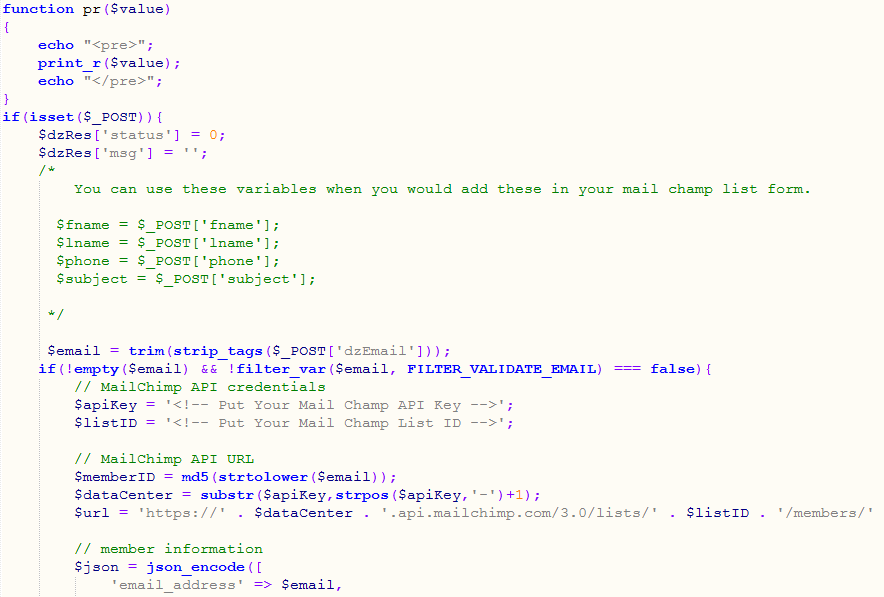
On server side i am using PHP for now. So on Form submit request we will check the POST variable.
try out the demo to see how it works.
Our Products -


Do You Need Help To Customization
After Purchase A Template...
You Will Start Customizing According Your Requirement but what if you don't know
SOLUTION IS HIRE DexignZone
Hire Same Team For Quality Customization
In Order To Ensure Your Website Is Live, We Will Customize The Template According To Your Requirements And Upload It to the Server.
Version History - #back to top
v1.1 - 27 August 2024
- Update: Upgraded from ASP.NET Core 7 to ASP.NET Core 8.
- Improvement: File enhancements for better performance.
- Fixed design bug for improved functionality appearance.
v1.0 - 21 February 2024
- New - Created & Upload Mophy